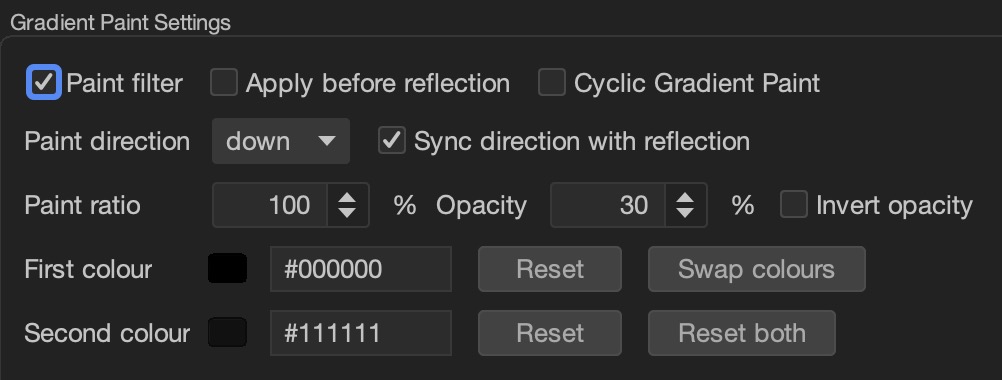
If you Apply before reflection the entire painted
image will be reflected; otherwise if reflection filter is disabled this
does not matter. If however you do not apply before reflection the
reflection part of the image will be painted.
If you tick Cyclic Gradient Paint it makes the
gradient paint cyclic, which I explained above.
The Paint direction I also already explained; if you
Sync direction with reflection whatever the reflection
direction is is what direction the paint will flow.
However if you Invert opacity the direction of the
paint is reversed and the paint is darker, moving in the opposite
direction.
The first and second paint colours
are as I already explained the colours that make the gradient paint; the
default colours are shown: if you Reset one it sets it back to the
default; if you Reset both both are reset and if you
Swap colours the colours are swapped.
The paint ratio and opacity are hard to explain but they affect each
other as well as the darkness.
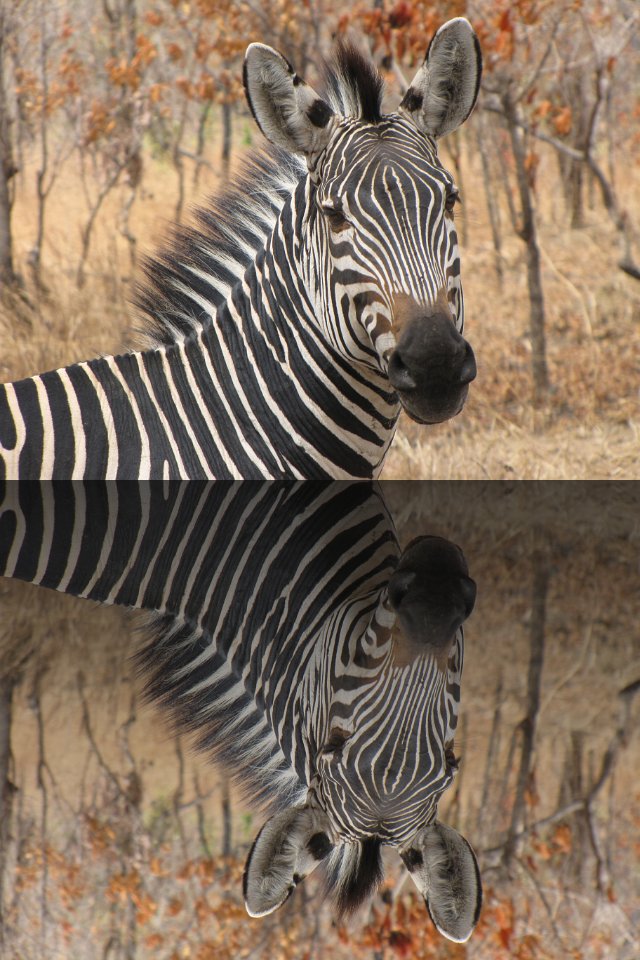
This is what the default looks like on a reflected image with acyclic paint:

If opacity is inverted, this is what it looks like:
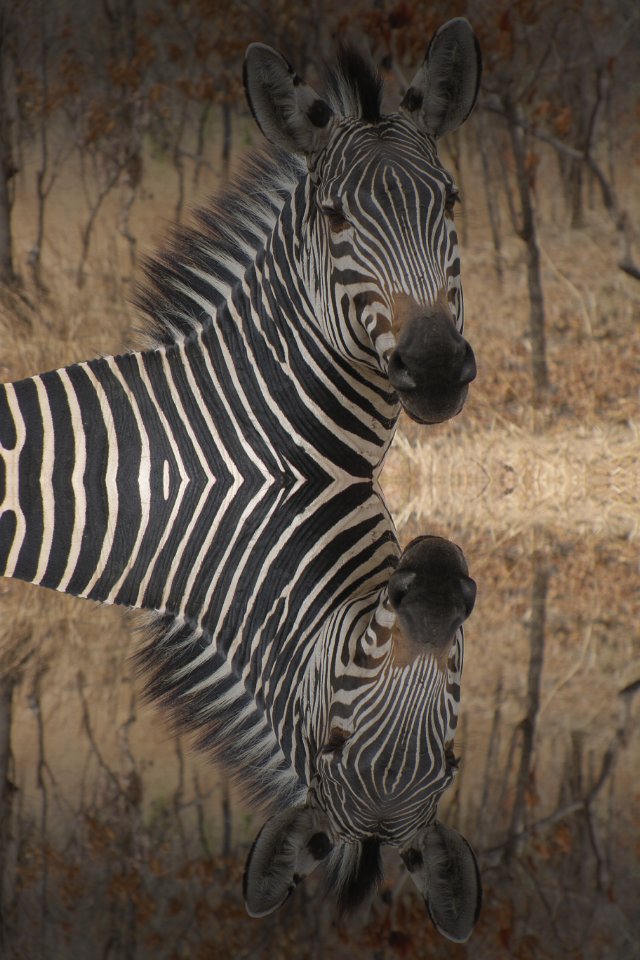
This is how it looks if you paint before the reflection:
If you paint before the reflection with inverted opacity:
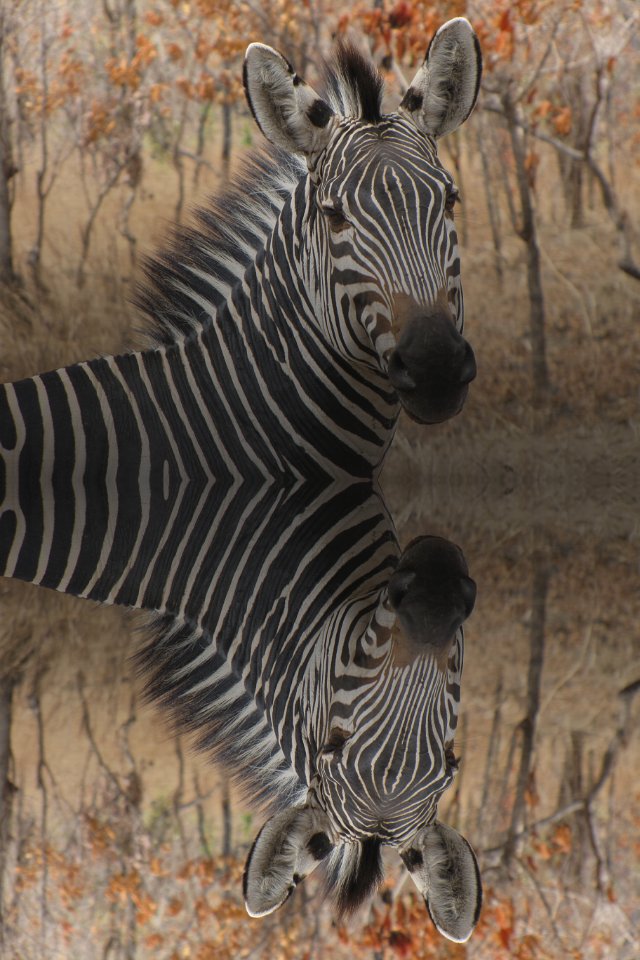
Finally if you make the paint cyclic this is what it looks like with
the defaults: that is paint the reflection and not inverting the
opacity: